Monday, December 9, 2013

Have Yourself a Merry Little Christmas

Well, it's December 9th and if you're like me, you're out straight getting ready for Christmas.  But while you're in the midst of shopping, baking, wrapping, more shopping, cleaning, addressing cards, decorating, and yes, more shopping, don't forget to take a moment for yourself.  And just in case you are still looking for ideas for your Christmas list, here are my top 10 favorite quilting tools.  I use them almost every day.  I couldn't live without them.  Well I could, but I just don't want to.  And away we go...

My Top 10 Favorite Quilting Tools

1.  Olfa 28mm rotary cutter


Although I have a bigger 45mm rotary cutter, I prefer this smaller version.  I originally bought it for scrapbooking in the dark days before I was a quilter, but I love it for cutting fabric.  The smaller size gives me better control, it still cuts through 4 layers of fabric, and, best of all, the replacement blades are cheaper!!


2.  Olfa frosted 6 1/2" x 6 1/2" ruler


I have other rulers, but this is the one I grab the most.  The width allows me to press down comfortably with my non-cutting hand and the frosted coating really keeps it from wiggling around.


3.  Fons and Porter 6 1/2" needlecraft scissors


These are my go to scissors.  They aren't very expensive, but they are a comfortable size, nice and sharp, and cut well all the way to the tip.  They are especially great for cutting out wool appliqué shapes.


4.  Satin Pins


Don't get me wrong, I love the regular quilter's pins -- you know, the ones with the yellow plastic heads.  But I really love to use satin pins for piecing.  They glide smoothly into fabric without leaving big holes and you can usually sew over them.  I know, I know, sewing over pins is taboo.  Just keeping it real.


5.  Grabbit Magnetic Pin Cushion


I've had this pin cushion for years and I love it.  At least I did until I broke it by dropping it on the floor.  I tried to fix it with super glue, but apparently I re-installed the magnet incorrectly and now, instead of lying flat and tidy, all of my pins point up and out.  My Grabbit looks like a porcupine and every time I reach for a pin I stab myself.  Needless to say, I'm putting a new Grabbit on my Christmas list.


6.  John James Gold'n Glide appliqué needles - size 11


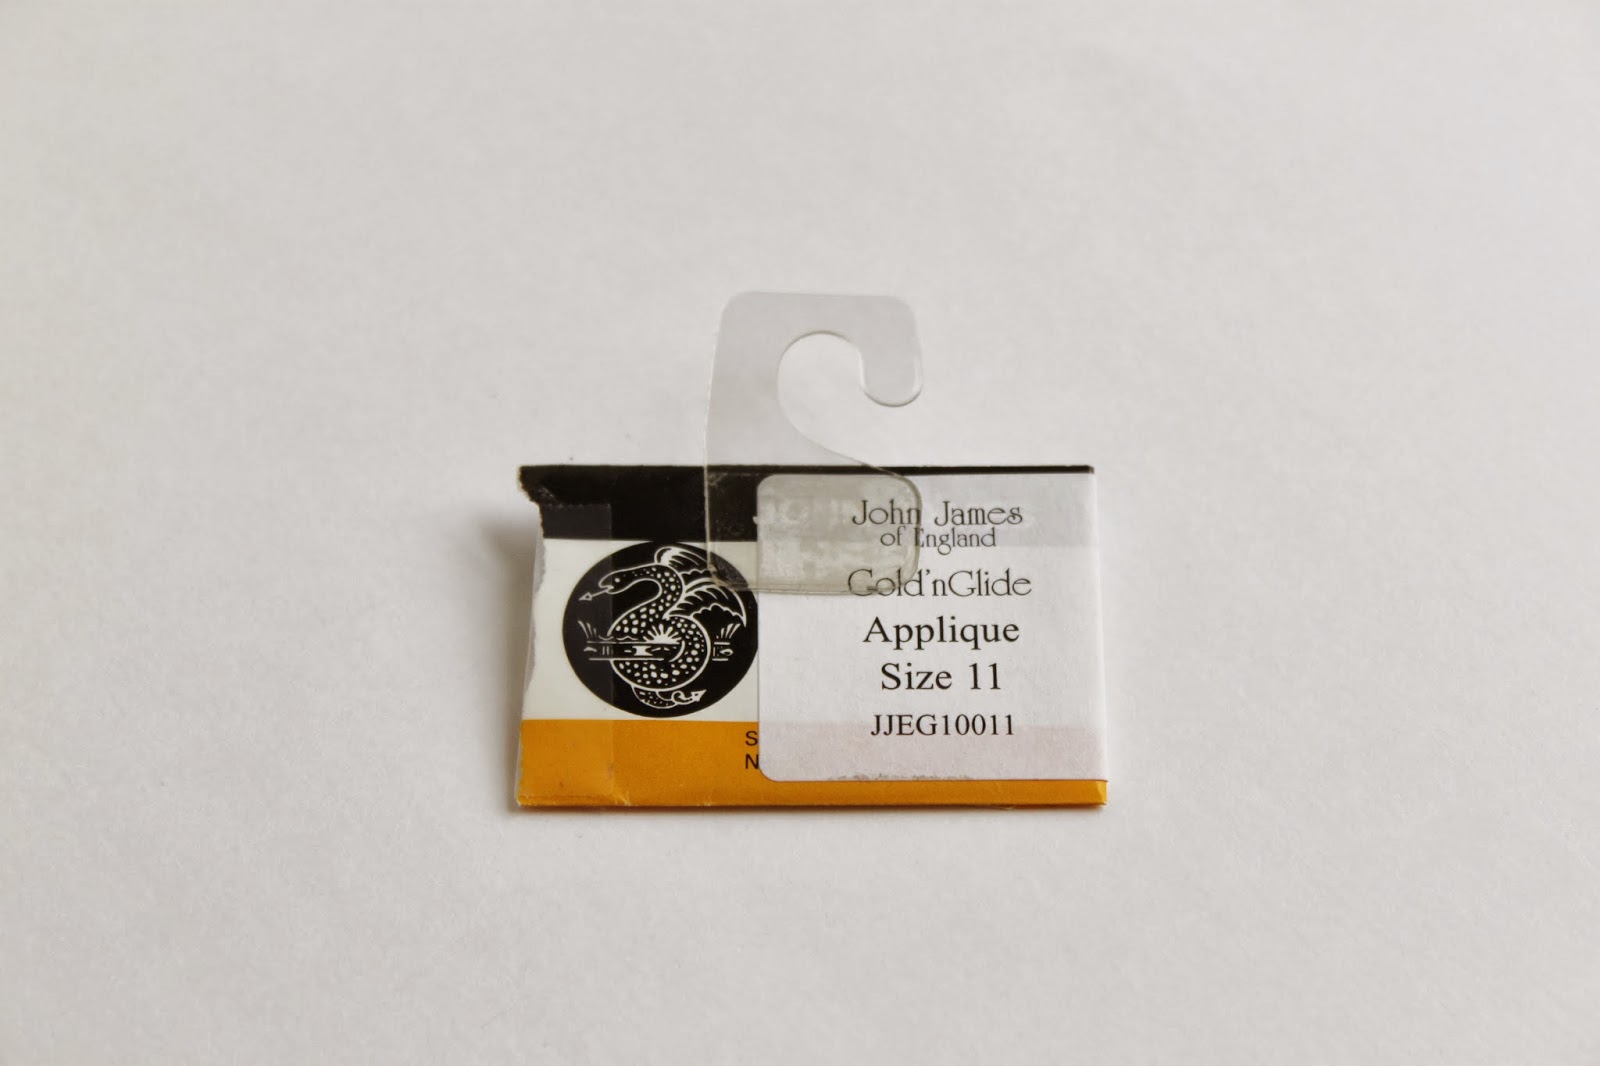
While we are on the subject of pins and needles, I discovered these amazing appliqué needles this past summer.  They are super thin, the perfect length for appliqué, and as the name suggests, they glide beautifully.  I like them so much that I've even used them for sewing down binding.


7.  YLI quilting thread


My all time favorite thread for hand quilting is YLI quilting thread.  I love the weight of it, it rarely breaks, and the colors are beautiful -- my current favorite is light brown.  I also love using a single strand of it for sewing down binding.  If your local quilt store doesn't carry it, you can buy the thread directly from YLI at www.ylicorp.com.


8.  Floss-A-Way embroidery floss/fiber organizer


The photo isn't great, but what you are looking at is 100 mini ziploc bags on a 3 inch metal ring.  I love this organizer because you can keep varying lengths of the same color floss all in one place without it getting tangled.  There is also a white spot on each bag where you can write the color of the floss.  Lovely.


9.  Dritz fine point disappearing ink pen


This is my favorite marking tool for quilting and embroidery.  I used to use chalk pencils, but I love the fine point of this pen, and it doesn't require washing out.  Just make sure you only mark what you can quilt or embroider in one sitting, because otherwise the marking will vanish.  Go figure!


10.  Spray n Bond basting adhesive


This is one of my new favorite tools!  So far, I've only used it on small projects where I would normally thread or pin baste, but I love it because it's fast and easy to use, it's repositionable, and it keeps my quilt sandwich layers from shifting while I'm machine quilting.


So there you have it!  Ten great quilting tools!  Add a few to your Christmas list or simply treat yourself.  Go on, you deserve it!  I'm sure you've been very good this year.

Happy quilting!

Monday, November 18, 2013

"Christmas in the Cabin" Free Pattern

Here's a project to put you in the Christmas spirit!


I know, I know, Thanksgiving is just 9 days away and you're up to your neck in menu planning, grocery lists, and housework.  But if you're looking for a fun project for your post-Thanksgiving holiday weekend, try my Christmas in the Cabin table runner.  Christmas in the Cabin is a Web Extra for Quilters Newsletter's December/January 2014 issue and you can find the free pattern on QN's website.  This table runner is fast and easy and perfect for using up your Christmas fabric scraps.

Don't have time to make the full table runner before Christmas?  Why not make my pine tree pillow!  I used pine trees left over from making my table runner.  Skip ahead to steps 4 and 5 of QN's instructions to find out how to make your own pine tree panel -- just make it one tree smaller.  The finished panel should measure 7 1/2" x 15 1/2".


For the border, you'll have to cut red strips as follows:  2 -- 3" x 7 1/2" and 4 -- 3" x 10 1/2".  Join together 2 -- 3" x 10 1/2" strips to make a long 3" x 20 1/2" strip.  Repeat with the other set.  Join the 2 -- 3" x 7 1/2" strips to either short end of the pine tree panel.  Press towards the red.  Join the 2 -- 3" x 20 1/2" strips to the long ends of the pine tree panel and press towards the red.

I lined the pillow top with a layer of batting and a muslin panel.  It's not necessary, but if you'd like to do the same, cut the lining fabric and batting to 14" x 22".  Layer the lining, batting and pillow top to make a quilt sandwich.  Baste and quilt.  I machine quilted in the ditch around each pine tree and trunk and around the entire pine tree panel.  Trim the lining and batting.

For the overlapping pillow back, cut 2 red panels -- 12 1/2" x 14".  Press one short side of each backing panel toward the wrong side with a 1" fold and topstitch.  Lay the pillow top on a flat surface, right side up.  Position a backing panel right side down, aligning raw edges along one side.  Lay the second panel right side down, aligning raw edges along the opposite side.  Stitch through all layers using a 1/4" seam.  Trim the corners, turn the pillow right side out, and insert a 12" x 20 pillow form.

Happy quilting!

Wednesday, October 30, 2013

Mini Pumpkin Quilt Pattern

Remember the little door knob quilt I made for Valentine’s DayWell today I woke up inspired to make one for Halloween.  I love how it turned out and it takes no time at all.


Here's what you'll need:

Orange fabric:  
 2 ¼” x 2 ¼” squares
16 
 1 ½” x 1 ½” squares
 7" x 7" square for backing

Blue fabric:
 2 ¼” x 2 ¼” squares
 1 ½” x 1 ½” squares
1 – 2 ¼” x 25” strip  for binding (I actually used a small length of binding left over from another project – yes, I’m a scrap hoarder)

Brown fabric:
 1 ½” x 1 ½” square

You'll also need a 7" x 7" square of batting, a scrap of green wool, green perle cotton or embroidery floss, basting adhesive, and 12” twine.


And here's the pattern:

To make the orange/blue half square triangles, place an orange 2 1/4" square on a blue 2 1/4" square with right sides together and edges lined up.  Draw a diagonal line from corner to corner on the wrong side of the orange square.  Stitch a scant 1/4" on either side of diagonal line.  Press seams.  Cut on diagonal line and press open towards the blue.  Trim half square triangle to 1 1/2" x 1 1/2".  Makes 2 half square triangles.  Repeat for remaining set of 2 1/4" squares.

Referring to the photo, lay out the 4 half square triangle units, 16 orange 1 1/2" squares, 4 blue 1 1/2" squares and 1 brown 1 1/2" square to form the pumpkin.  Join together half square triangles and squares to form rows.  Join together rows.  Press.  The pumpkin top should measure 5 1/2" x 5 1/2".

Cut a leaf shape from the green wool and pin it to the pumpkin top.  Appliqué the leaf to the pumpkin using green perle cotton and a whip stitch.  Stitch veins on the leaf using a big running stitch.  Stitch the vine using a back stitch.

To make the quilt sandwich, spray basting adhesive to the wrong side of the pumpkin top and with your hands press it to the 7” x 7” square of batting, right side up.  Spray basting adhesive to the wrong side of the orange 7” x 7” backing square and adhere it to the other side of the 7” x 7” batting square.

By the way, this was my first time using spray basting adhesive and I think I’m in love!  But I digress.

If you’d like to quilt the pumpkin by machine or by hand, now would be the time.  Trim the sandwich to 5 1/2" x 5 1/2" and use your favorite method to bind the quilt. 

For the hanging loop I found a length of twine, tied a knot at either end and stitched the knots to the upper back of the quilt.  And voila!  C’est fini!


If you’d like your pumpkin quilt to look a little more Halloweeny, try embellishing it with an appliquéd or embroidered jack-o-lantern face instead of the green leaf.  Either way, happy quilting and Happy Halloween!

Wednesday, October 16, 2013

October Walk

It never fails.  I grab Casey and leave the house one way -- tense, frowning down at the ground, mind racing with worries about kids and schedules and to do lists.  45 minutes and 3 miles later I return a different person -- calm, face relaxed, looking up at my surroundings and, above all, grateful.

And because I'm still pleasantly warm and enjoying the slightly intoxicating after effects of a bit of exercise, I'd like to share my favorite things about an October walk.

-  Crisp, fragrant air.

-  Casey kicking up her heels, ears flopping as she chases busy squirrels.

-  The sound of dry leaves crunching underfoot.

-  The brilliant color of reds, rusts, and golds against a backdrop of gray-brown earth and tree trunks.

-  No bugs!  If you've ever walked in a New England forest in the summer, you'll appreciate this one.

-  Casey smiling up at me, wearing a silly orange vest that makes her look like a canine superhero.

-  The bright, airy quality of the forest without its leaves.

-  The feel of a cool breeze on my face.

-  The smell of wood smoke on the air.

-  Knowing that our home will be warm and cozy when I return.


"I'm so glad I live in a world where there are Octobers."  -- L.M. Montgomery, Anne of Green Gables


Wednesday, October 2, 2013

Why I Love Fall

We have been enjoying unbelievable weather in New Hampshire.  Day after day of warm sun and sparkling blue skies.  The foliage is at its peak and the air smells sweet and spicy.  Every morning when I drive my son to school I'm amazed and inspired by autumn's spectacular show.  So this morning I grabbed my camera on the way out the door, hoping to capture some of the sights I'm blessed to see each day.  Here are a few...


Fall.  Need I say more?

Monday, September 16, 2013

Stop Sewing Machine Cruelty

This morning, as I was driving my son to school in the rain, I was shocked to see this on the side of the road:


By the time I was able to get back with my camera, the rain had stopped, but the scene was no less sad.

(cue the melancholy music, I'm thinking Sarah McLachlan's "Angel" -- ♪ In the arms of the angel ♫...)

This innocent sewing machine probably put in years of faithful service, stitching countless curtains, pillows, Halloween costumes and quilts -- never complaining, always chugging along.  Maybe its tension wasn't what it used to be.  Maybe it had slowed down a bit or made the occasional funny noise.  Maybe it didn't have the fancy features of a newer, younger machine.

But did it deserve this end?  Abandoned on the side of the road.  Left out in the cold and rain without regard for its delicate metal parts -- a crude, hastily made cardboard sign its only monument.

Isn't it finally time to stop sewing machine cruelty?


Wednesday, August 28, 2013

Best Christmas Quilts 2013 - Fabric Giveaway

It's a humid 85° with thunderstorms in my neck of the woods today, but it's never too early to start thinking about Christmas.  Need some inspiration?  Check out Quilters Newsletter's latest special issue, Best Christmas Quilts 2013, on sale now at book stores, news stands, quilt shops and online.

And why, you may ask, am I so keen to promote Best Christmas Quilts 2013??

I've got four reasons:


Reason #1:  Found on page 20 of the issue, is the pattern for my gift-wrapped ornaments.  These very simple, but very sweet ornaments are a snap to make using scraps of your favorite Christmas fabrics.


Here's a closeup of my favorite.


Perfect for the Christmas tree or scattered on your Christmas table!!


Reason #2:  Check out page 40 for my Winter Flowers table runner.  This is a simple quilt that gets it visual impact not from complicated piecing, but from the contrast of the red and two shades of green against the white.


Don't have the time to make a whole table runner?  One flower block would make a beautiful pillow!


Reason #3:  Turn to page 44 and you'll see my O Christmas Tree advent calendar.


I made this little quilt with flannel and embroidered felted wool ornaments.  It was so much fun to make and the possibilities are endless.  Start December 1st with an empty tree and snap on an ornament each day.  By the time Christmas rolls around, your tree will be all decked out for Christmas complete with two gifts...


...and a star on top! 


Reason #4:  Finally, the moment you've been waiting for! And thanks for patiently reading on to get here!  Quilters Newsletter is celebrating the release of Best Christmas Quilts 2013 by showcasing projects on their blog and GIVING AWAY FABRIC every day this week!  So check out QN's blog, leave a comment for a chance to win, and maybe you could have a little Christmas in August... just don't look out the window!


Monday, August 12, 2013

Goodbye Tooth Fairy

Yesterday my youngest child lost his last baby tooth.  And last night as I lay in bed, waiting for the house to fall asleep around me, I thought about the Tooth Fairy.  For more than 10 years, the Tooth Fairy has been visiting our dark, quiet, sleeping house, leaving behind her neatly folded bills and little packages of quarters.  And while she hasn't always been perfect, I'm so going to miss her.

There was the time the Tooth Fairy got caught in a storm in the Midwest and wasn't able to reach my daughter's pillow before she woke for school.  Luckily we forgot my daughter's backpack at home that day.  When we returned home to retrieve it, we discovered that the Tooth Fairy had been there in the interim and had left a lovely note explaining the circumstances of her delay.

Another time, the Tooth Fairy made it to our house and left her gift of money, but neglected to take my son's tooth.  We decided that the Tooth Fairy had a helper that night who wasn't used to finding a tiny tooth beneath a pillow.  My son didn't mind because he got an extra dollar when the Tooth Fairy came back for the tooth the next night.

And finally, there was the morning when my son and I were devastated to discover that the Tooth Fairy had completely forgotten to visit our house.  After the initial shock, we reasoned that although she was magic, and despite her best intentions, the Tooth Fairy occasionally made mistakes.  We decided to forgive her (much easier for my son) and try again.  Sure enough, she came the next night and left twice her usual gift, much to my son's delight.

Late last night, I crept into my son's bedroom to check on him and I sat on the floor in the dark listening to him breathe.  I thought I would be overwhelmed with sadness that this chapter of our lives was coming to a close, but mostly I felt grateful.  Grateful for my three beautiful and amazing children.  Grateful for the opportunity to experience motherhood with all its joys, and yes, its sorrows.  And grateful that although childhood may be fleeting, the memories can last a lifetime.

Monday, July 15, 2013

Summertime - Free Pattern

Summertime and the living is easy.  Warm days, sunny skies, picnics, and ice-cold watermelon.  And not an ant in sight... at least not on my "Summertime" table runner, that is.  "Summertime" is a Web Extra for Quilters Newsletter's August/September 2013 issue.  Click here for the free pattern.


I used patchwork in cream and two shades of red to create the gingham picnic cloth center of my quilt. The watermelon border is comprised of a cream print and a red print with little black flowers that mimic watermelon seeds.  To achieve the watermelon slice effect, I first sewed a narrow cream piping to the scalloped edge and then used a green print for the binding and voilà... a watermelon rind.  Here's a close-up of the edge:


This was my first time using a scalloped edge and even with the cream piping, it wasn't too tricky.  But you could always use the cream piping/green binding on a squared off outer edge and still end up with a watermelon-y vibe.

I quilted this table runner by hand using a big stitch and perle cotton.  I love how the big stitch looks - kind of casual and homespun - but let's be honest, I use it because it's fast!

So there you have it.  My ode to summer.  And remember...


Happy quilting!


Tuesday, July 2, 2013

Vermont Quilt Festival Loot

On Saturday I cashed in a year's worth of change and my credit card reward points and met my mom at the Vermont Quilt Festival.  The contest quilts were beautiful and the antique quilts lovely.  There was a Dear Jane exhibit and we got to see the amazing work of quilt artist Jo Diggs.  But lets be honest, we were there to shop... and shop we did.

In the past, my mom and I lived close enough to each other that we would ride to the festival together and spend the entire 2 hour trip home fondling our fabric; oohing and ahhing over our purchases and discussing the possibilities.  That ride home was almost as much fun as the shopping itself.  But now that my parents have retired to New Hampshire's Great North Woods, my mom and I had to drive in separate cars -- sigh.

Since I couldn't share the fabric shopping afterglow with my mom, I've decided to have a little show and tell.


First of all, the fabric...

Fall colors, yummy.  That's navy blue with the orange in the homespun pack.  Love that combination.  
Is July 2nd too early to start thinking about pumpkin pie?


 I can never walk away from a good red fabric.  I LOVE red.  
And the blue and green fabrics just went so well with the red.


The top two fabrics are from Lynette Anderson's Hollyhock Cottage fabric line.
Her fabrics are so whimsical and the colors so pretty!


Now on to the wool...

There was so much beautiful wool at the festival this year.  I bought the Primitive Gatherings charm pack on top for inspiration because the colors were great.  I must have been channeling Christmas with the rest.  I know, I know, July 2nd is definitely too early to start thinking about Christmas cookies.


And finally, the patterns...

Actually really only one pattern.  I love handwork and miniatures and couldn't resist this little Bareroots pattern.  The other two projects came from Pinwheels and have sayings printed on Daiwabo fabric.  After you stitch them up, you soak the fabric and the blue disappears.  Very cute as a pillow or in a frame.


That's it!  I wish there was more, but as usual, I was like a deer in the headlights for the first couple hours of shopping.  So much loveliness, so little decisiveness.  But all in all, I managed to acquire a pretty good pile of loot AND I came home with enough leftover cash to make a nice start on next year's VQF mad money.  Can't wait!!


Tuesday, June 18, 2013

The Traditional Quilter's Guide to Making a Modern Quilt

Impressive title, isn't it!

In my last post, I mentioned that I had an opportunity to design for a modern quilt magazine and while I clearly haven't been blogging, I have been sewing.  I managed to make the deadline and submitted 5 modern quilting projects.  Fingers crossed!

Just in case you're thinking of giving modern quilting a try, I've decided to share a few newfound insights.  May I present:


The Traditional Quilter's Guide to Making a Modern Quilt

1.  Play -- relax, experiment, and let your imagination go wild.

2.  Don't be afraid of modern fabric -- it may be bright, it may be bold, but it is, after all, only fabric.


Glimma by Lotta Jansdotter

 3.  Try solids -- cut into pieces and combined, solids can be a revelation!

4.  Edit, edit, edit -- just because it looks modern, doesn't mean it looks good.


More Glimma

5.  When in doubt, ask your daughter -- difficult though it may be to admit, she is younger, cooler, and in touch with her modern side (let me rephrase that  - she actually has a modern side to be in touch with).

6.  Add white -- but remember it's white and if you're not careful everything (rulers, rotary cutter, sewing machine, iron, ironing board, puppy, air, etc.) will make it dirty.


And more Glimma - I like Glimma

7.  KISS -- say it with me, "keep it simple, stupid."

8.  Focus -- don't allow yourself to be distracted by any of the following:  lacrosse games, band concerts, laundry, slumber parties, grocery shopping, the Stanley Cup Playoffs, head colds, dust bunnies, global warming, etc.

Curious Nature by Parson Gray
9.  Don't feel guilty -- you're not actually cheating on your stash.

10.  "Don't think, you can only hurt the ball club." -- please excuse the Bull Durham reference, but so many times in my life, this says it all.


Happy quilting!
                   

Thursday, May 23, 2013

Modern Quilting

My head is spinning these days because I have an opportunity to design for a "modern" quilt magazine.

If I had to describe myself as a quilter it would be "traditional with a twist."  I love scrappy quilts with traditional piecing and maybe a bit of wool appliqué thrown into the mix.  My favorite quilt blocks are sawtooth stars and flying geese.  I cut my teeth on Kansas Troubles fabrics and I still favor muted, darker colors - especially red.  I love red.  And I own all of Kim Diehl's books -- even though I become absolutely green with envy every time I open one of them.

So why would I even think of attempting to design a modern quilt?

Because I just can't help myself.

After I got over the initial surge of fear at the thought of attempting modern design, my juices started flowing.  I spent hours on EQ 7 playing with the ideas pouring out of me; countless color and block combinations spinning in my head.  Now this may have been due to the fact that I accidentally drank a pot of full strength coffee rather than the decaf I thought I'd made -- a hypothesis I plan to test when I'm feeling brave enough to withstand the accompanying racing heartbeat and shaking hands.  But I really think I was reinvigorated by the challenge of designing something totally different.

Bright, clear colors.  High contrast.  Simple, graphic patterns.  Negative space.  It's like learning a new language.

Maybe I'll work with solids.  Maybe I'll explore asymmetry -- shudder.  Perhaps, dare I say it, I'll even try some improvisational piecing.  Even the word "improvisational" gives me a thrill!

I don't know if I'll be successful and my designs may be a disaster.  But I do know, that right now, quilting feels like play again.  And that's good enough for me.

Tuesday, May 7, 2013

My Spring Fling

Ahhh.... spring has finally arrived in New Hampshire.  We've been having the most amazing weather for the past week.  Sunny and 70° every day and still no bugs!

I decided to celebrate with a little on-line fabric shopping and to my delight discovered mini charm packs -- collections of 2½" x 2½" squares of fabric.

Now, I LOVE regular charm packs -- a whole fabric line of color-coordinated perfection in a tidy little bundle for only $10 -- but mini charm packs are a revelation!!!


Look how cute they are in their tiny packaging with their darling pinked edges -- like gorgeous pieces of candy that fit perfectly in the palm of your hand!!  And at less than $5, they are absolutely guilt-free.

Of course, I realize that inch for inch, mini charm packs are much more expensive than full-size charm packs.  And I know that the number of pattern possibilities are more limited for 2½" x 2½" squares.  And, to be honest, I have to admit that I'm deeply hesitant to even remove the paper bands from the mini charm packs to get a closer look at the fabrics, much less sew them into a project.

But I really don't care!  I love them and love knows no reason.  It makes me happy just to look at them sitting on the corner of my cutting table, looking sweet.  Joy for $4.50?  Sold!

Tuesday, April 23, 2013

Peaseblossom

It was school vacation last week so I didn't manage to get in a lot of quilting, but I did sew.

My daughter Grayson needed to come up with a costume for her role "Peaseblossom" in her school's upcoming production of I Hate Shakespeare.  "Peaseblossom" is a fairy from A Midsummer Night's Dream.  Grayson's director wanted her to find a "hippie" dress in pink and green.  Not eager to spend our vacation in the car driving from store to store looking for the perfect hippie fairy costume, I suggested to Grayson that we make the dress.  

I sew all the time, but it's been a while since I've actually sewn clothing.  When I was in high school, I made a skirt or two and during my first pregnancy, I even made a couple of maternity dresses.  And when the kids were little, I used to make their Halloween costumes every year--of course now that they are older, they want to buy or assemble their own costumes and my days of sewing with Winnie the Pooh-colored fake fur are long gone.  

But I wasn't too worried about getting the job done--it was just a simple dress after all, and I've been watching Project Runway for years, so I was pretty sure I had it covered.  Grayson was hesitant, but I told her that if we made the dress it would probably save time, it would definitely save money, and she could have exactly what she wanted.  "Trust me," I told her, "It's what I do."  She finally gave in and off we went to the fabric store.

I had my first moments of doubt when it took her 90 minutes to choose her fabric and pattern--but I figured she was distracted by the less than desirable behavior of her little brothers.  My concern grew when I was trying to figure out the notions.  She had chosen a Burda pattern--German, I think--and instead of actually listing the necessary notions, the pattern had little pictures that I assume were supposed to be universally understood.  When even the store manager wasn't able to translate, I took my best guess and grabbed interfacing, elastic, and bias tape.  At the cash register, the total came to just over $40--not exactly the bargain I was looking for, but there was no going back.

Flash forward:

The dress took me two days to finish and left me with a few more white hairs and a bruised ego.  I struggled with the fabrics--one gauzy, one slippery.  Quilting cottons make so much more sense.  I struggled with the fit and had to adjust the bodice when the arm holes ended up too tight--apparently German women have unusually skinny arms.  And I struggled for an hour to fish the elastic through the waistband only to have to remove it when Grayson decided that she didn't want an elastic waist after all.   

But in the end, Grayson was really happy with her moderately priced, reasonably pretty, homemade pink and green hippie fairy dress.  And I was comfortable with the realization that I should probably stick with quilting.    All's well that ends well.

The pattern and fabrics -- floral on top with an underskirt of the green.
Please try to disregard that the pattern is classified as "very easy."

Monday, April 1, 2013

Spring, Really?

For the first time in months, last night I fell asleep to the sound of falling rain.  I was convinced that I would wake up this morning to find that the last remnants of snow had melted and that spring was finally here.  Instead this is what I found:


More snow.

For some reason, this morning I felt like this on the inside:


But outside it looked like this:


So I decided that if spring won't come to me, I'd make a little spring on my own:


I borrowed the paper-pieced tulips from an MH Designs pattern that I've had for a really long time, but that is actually still available on their website.  The MH Designs quilt is 11" x 18" and has 7 tulips.  I made it once for my mother-in-law, but never got around to making one for myself.  I don't know what took me so long!  The tulips are a breeze to make and really sweet.  My little quilt measures about 5 1/2" x 6" and here's how I'm going to display it:


I think it's darling on the little quilt frame that my mother gave me for Christmas a couple of years ago.

Now I have something springy to look at while I wait for the view outside my window to improve.  Not a bad way to spend a Monday morning!