Showing posts with label spring. Show all posts

Monday, April 29, 2019

Four New Projects for Spring and a Giveaway!

It's beautifully sunny here today in New Hampshire and I'm in the mood for a giveaway!!

But first, here's a round-up of four of my latest projects for spring:

1. Providence - You can find the pattern for Providence in the May/June 2019 issue of Fons & Porter's Love of Quilting.  I made my quilt with a charm pack of gorgeous Flower Garden Gatherings fabric by Primitive Gatherings for Moda Fabrics and I love the colorful result!


2. Lucky Stars - The pattern for Lucky Stars is on page 34 of the May/June 2019 issue of Fons & Porter's Pre-Cut Patchwork.  This fun quilt is also a charm pack project — mine's made with Sweet Tea fabric by Sweetwater for Moda Fabrics.


3. Rise and Shine - The pattern for this sweet stitching project is available in the May/June 2019 issue of Quiltmaker.  Make this fun little project with scraps from your stash and either bind it like I did or pop it in a 5" x 7" frame.


4. Cottage Blooms - Simple paper piecing makes easy work of the sweet cottages and tulips that make up this little wall hanging.  I used fabrics from the lovely Memoire à Paris collection by Lecien — perfect for spring!  The pattern for Cottage Blooms is now available for immediate download in my Etsy Shop.


And yes, patient reader, I did mention a giveaway!

This week I'm going to be giving away one copy each of the May/June issues of Love of Quilting, Pre-Cut Patchwork, and Quiltmaker.  Look for the giveaway posts on Instagram and Facebook for your chance to win one of these beautiful, pattern-packed magazines.


I hope the sun is shining where you are today too!

—jen

Friday, April 13, 2018

Spring Candy

Longing for spring?  The weather outside is still frightful here in New England, but here's a fun weekend project that sure to lift your spirits!


It's my Spring Candy mini quilt!

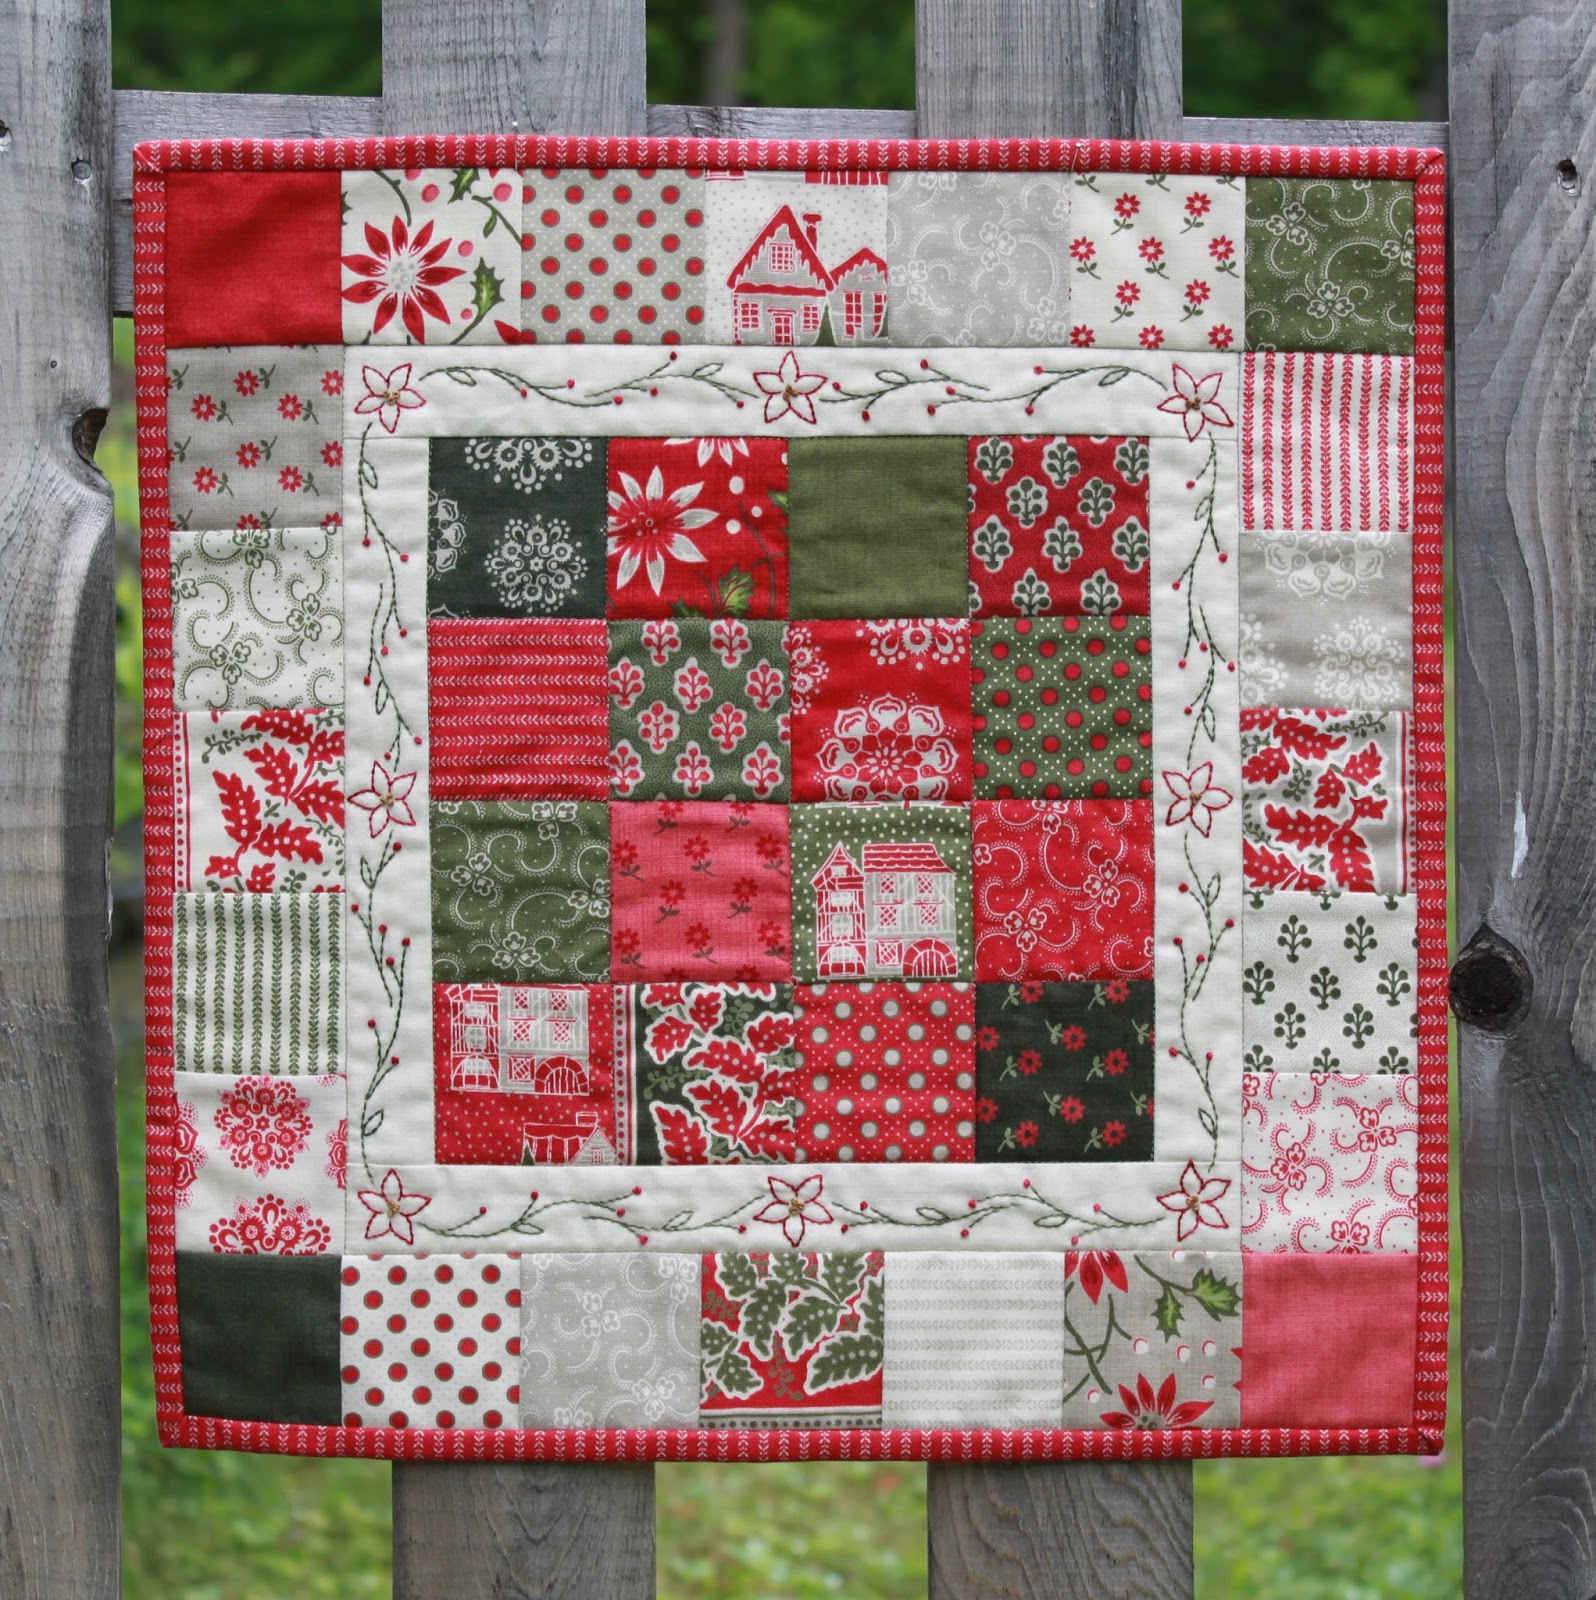
Spring Candy is based on my Christmas Candy Moda Bake Shop tutorial.  This little quilt is made in exactly the same way, but I've substituted a mini charm pack of "Hazelwood" fabric by One Canoe Two and changed up the embroidery for spring. 

I remember my mom teaching me the phrase "March winds, April showers, bring forth May flowers" when I was a child and I thought this project was the perfect opportunity to stitch the rhyme.  I embroidered the lettering, flowers and vines using two strands of embroidery floss and a backstitch and the little buds at the ends of the vines are French knots.  I love how this mini quilt turned out.  The colors of the "Hazelwood" fabrics make me happy just to look at them, and the stitching takes it over the top!


Ready to make your own version of Spring Candy?

Here's the link to my original Christmas Candy Moda Bake Shop tutorial.


And here's the link to a downloadable pdf of the Spring Candy embroidery pattern.

And finally, if you'd prefer to turn your Spring Candy quilt into a pillow, here's a link to my original post for Halloween Candy, the Halloween version of this project, that contains pillow instructions.


Happy Quilting!

Thursday, January 25, 2018

Home Tweet Home Take Two

I've had some questions about how to make a larger version of Home Tweet Home, my latest Moda Bake Shop tutorial, using charm squares (5") rather than mini charm squares (2½").  If you're interested, here's some rough math to help you out.

For a 30½" square quilt made with a charm pack:

Birdhouse block size:  4¾" x 4¾" finished
Sashing strips:  1" x 4¾" finished (cut 1½" x 5¼")
Cornerstones:  1" x 1" finished (cut 1½" x 1½")
Inner border:  1" wide finished (cut 2 - 1½" x 22½" and 2 - 1½" x 24½")
HST border:  3" x 3" HSTs finished (make in the same manner described in the tutorial using 4" squares to start - you'll have to trim the charm squares first)
Outer border corner squares:  3" x 3" finished (cut 3½" x 3½")

I plugged this larger design into EQ7 and it's looks like you'd need roughly a yard of background fabric and ½ yard of fabric for the birdhouse roofs.

Here's a link to a foundation pattern that I drafted for the 4¾" birdhouse block.  And here, again, is the link to the original tutorial — the cutting measurements are different for the larger quilt, but the construction is the same.


I'd love to see what a bigger version of this quilt looks like and I may even try one myself!  One reader suggested appliquéing a black circle to the larger birdhouses rather than using buttons — great idea Cheryl!  Don't forget to tag me @JenDalyQuilts if you share your quilts on Instagram or Facebook!

Happy Quilting!

— Jen

Wednesday, January 24, 2018

Home Tweet Home

I know we still have two months of winter left, but somehow I can't help looking ahead to spring.  And in honor of the sweetest season, here's what I've been working on:


It's Home Tweet Home, my latest Moda Bake Shop tutorial.  This sweet quilt finishes at 15½" square.  You'll need a mini charm pack, a bit of yardage and 16 little buttons to make Home Tweet Home and you can find detailed instructions as well as plenty of how-to photos free at the Moda Bake Shop.


I made my little quilt with "Lilac Ridge" by Jan Patek Quilts.  Her shades of lavender, green, brown and cream are perfect for spring—soft, lovely and warm. 

But if you're wondering what Home Tweet Home would look like in a different color palette, here are a couple of ideas that I think are equally cute.  Each is inspired by a current or upcoming Moda fabric collection.

Mama's Cottage by April Rosenthal available now

Provencal by American Jane available in February

Whichever you choose, I hope you have fun making Home Tweet Home.  And if you share your little quilts on Instagram or Facebook, please tag me @JenDalyQuilts—I'd love to see what you're up to!

Wednesday, May 3, 2017

Going Green

New Hampshire is beautiful in the winter, and I love the monochromatic palette of white snow, brown-black trees and blue-gray skies.  But I don't think there is anything prettier or more welcome than the return of green in spring.

And, as is always the case with color, "green" can mean a lot of things...


Ahh. green.


Monday, March 13, 2017

Bloom Where You Are Planted

We're supposed to have a snowstorm here in New Hampshire tomorrow, and with a potential accumulation of 14-18 inches of snow, I can't think of a better time for a little spring stitching!!


These wooden buttons were the inspiration for this sweet project:


I saw them online when I was ordering some homespun fabric from Jubilee Fabric (jubileefabric.com) and I couldn't resist.  They're tiny—only 3/8"—but perfect for scattering across a background.


Back to the project!  First off, you can find the pattern for this little stitchery here.  The finished project measures about 5" square, but start with a larger background square (8" or so) so you can comfortably use an embroidery hoop.  You can trim the background square later if you like.

After tracing the pattern onto the background square using a light box and a water-soluble marking pen, I used size 8 perle cotton and a wrapped backstitch to stitch the "Bloom" and the big flower stem.  For the rest of the lettering and the little flower stems, I used two strands of embroidery floss and a backstitch—lazy daisies for the little flower leaves.  I appliquéd the felted wool flower and leaves using a single strand of embroidery floss and a whipstitch.  And finally, I used six strands of floss to stitch down the little buttons, making an "x" pattern in their centers.

I went back and forth about how to finish this project.  I thought about making it a little quilt with a loop that could be hung on a door knob or hook, kind of like this project that I made last November :

Give Thanks Mini Quilt

I also thought about adding a patchwork border and finishing it as a small pillow, but ultimately I decided to frame it.  To do so, I layered it with a thin piece of batting (flannel would also work), wrapped it around the glass that came with the frame, and inserted it into the frame.  Fast and finished!!


Happy Stitching!!

Sunday, March 20, 2016

Nor'easter Schmor'easter mini quilt - free pattern

It may say that it's now Spring on the calendar and it may be gloriously sunny for the moment, but baby, it's cold outside!  And with a nor'easter headed for New England (although maybe not quite as far inland as central New Hampshire), the colorful flowers that I'm longing to see still seem a long way off.  Once again, quilting comes to the rescue...

Here's a fast and fun little mini quilt that's charming hanging from a door knob or any place you'd like to see a bit of color.


I'm calling it my "Nor'easter Schmor'easter mini quilt" and here's the pattern:


You'll need:

Pink batik:  4 -- 2¼" x 2¼" squares
Yellow batik:  2 -- 2½" x 2½" squares, further cut once diagonally to form 4 triangles
Green batik:  2 -- 1½" x 2" rectangles
     1 -- 1½" x 3½" rectangle
     2 -- 2½" x 2½" squares
     1 strip 2¼" x 40" for binding
Ivory batik:  6 -- 1½" x 1½" squares
     2 -- 1½" x 2½" rectangle
     5 -- 2½" x 2½" squares, further cut once diagonally to form 10 triangles


First we'll tackle the stem and leaf portion of the quilt:

1.  On the back of 4 of the ivory batik 1½" x 1½" squares use a pencil to lightly draw a line diagonally from one corner to the other.

2.  Layer the 4 ivory batik 1½" x 1½" squares atop the 2 green batik 2½" x 2½" squares with right sides together as follows and stitch on the drawn lines.


3.  Press seams open towards the ivory batik and trim seam allowances to ¼".


4.  Stitch 1 ivory batik 1½" x 2½" to each of the units created in step 1-3 above.  Press seams open towards the ivory batik.


5.  Stitch together the units created in step 4 above and the green batik 1½" x 3½" rectangle as follows.  Press seams open towards the green batik "stem".


Now onto the flower portion of the quilt:

1.  Paper piece 4 petal units as follows using the remaining pink, yellow, green, and ivory patches.  Here's the link for petal unit 1 (bottom left); and the link for petal unit 2 (bottom right); and finally the link for petal unit 3 (top -- you'll make two of these units).  It might help to color the sections with colored pencils before starting to stay organized.  And if you're new to paper piecing, here's a link to a basic paper piecing tutorial on Craftsy.


2.  Stitch the 4 petal units together as follows:


3.  Finally stitch the flower unit to the stem/leaf unit, quilt as desired and bind.  I machine quilted just outside the edge of the flower, stem, and leaves using ivory thread.  I also quilted a diamond about ½" inside the yellow flower center to help it lie flat.


And that's it!  Make one flower or a garden of them!  No need to wait for Mother Nature!

Happy Spring!