Showing posts with label scrappy quilt. Show all posts

Friday, February 23, 2018

Heartland

Meet Heartland!  


Heartland is a 28" square wall quilt featuring easy log cabin blocks and simple wool appliqué.  You can find the pattern for this warm and scrappy project in the spring issue of Primitive Quilts and Projects magazine, currently available wherever quilting magazines are sold.  And if you like handwork, this is the issue for you!  There are more than a dozen beautiful projects featuring appliqué, wool appliqué and embroidery.


Here's the story behind Heartland...

I love log cabin blocks!  They're so much fun to make and so versatile!  Usually my favorite layout for log cabin blocks is the barn raising pattern, probably because it was the pattern that I used for my very first log cabin quilt.  Here's a pic:

Barn Raising - 48" x 48"

For Heartland, I wanted to try to use the strong diagonal lines of log cabin blocks to make a different secondary pattern, in this case a Sawtooth Star with a diamond center.  I used narrow logs — 1" wide unfinished — so that the "line" between the dark and light fabrics would seem smoother.  It meant cutting a lot of strips, but it also meant that I got to include a lot of different fabrics and I love the resulting sparkle.


The star layout that I chose also provided me the perfect opportunity to embellish some of the negative space with wool appliqué — another of my favorites!  I chose simple shapes and wools that echoed the color palette of the pieced blocks.


Once I'd finished the quilt top, I got a little hung up trying to figure out how to quilt Heartland.  It took me almost a year to hand quilt my first log cabin quilt and even though I love how it looks, I didn't want to take that on again.  My long arm quilter and I discussed machine quilting it, but realized that it might be difficult to see a quilted pattern on this particular quilt.  In the end, I machine quilted it myself on a regular sewing machine by stitching in the ditch between each block and along the diagonal lines between the dark and tan prints.  I also machine quilted along the outside edge of the wool appliqués.  Much easier than doing it by hand!


I love how Heartland turned out!  It's got a warm, vintage feel and the color palette of blue, green, red and plum is perfect for spring or summer.  But wouldn't it be great for fall with warm tones of red, rust, orange and brown?  Or for winter with blues ranging from gray blue to navy set against a backdrop of warm white prints?  So many possibilities!!


Happy Quilting!

Jen

Wednesday, December 23, 2015

Peace on Earth - A Mystery Quilt - Day 12

Well, here we are -- it's December 23rd and the final day for our Peace on Earth mystery quilts!  

Today we're going to be adding the finishing touches to our quilts.  I'm going to show you pictures of how I chose to finish my quilt, but please feel free to embellish your quilt however you like!  This is the time to play and really personalize your project.


I chose to use embroidery to embellish my quilt, and if you'd like to go that route, you'll need red, green, gold, blue, and ecru embroidery floss and red and green size 8 perle cotton -- again, you can definitely substitute embroidery floss for the perle cotton.


I used only simple embroidery stitches for my embellishments, specifically running stitch, back stitch, lazy daisy stitch, and french knots.  We've already used the back stitch, but if you're unsure how to do the other stitches, you can refer again to DMC's embroidery stitch guide.  And finally, I used two strands of embroidery floss for all of the stitching unless otherwise indicated.  Let's get started:


Finishing Peace on Earth:

Windows:


Add candles to the cabin's windows using ecru floss and a straight stitch.  The flames and holly leave are a made with lazy daisy stitches in gold floss and green floss, respectively.  And the berry clusters are made with three french knots each.


Door:


To mark a circle for the wreath on your cabin's door, simple use a marking pencil and trace around a dime or a small button.  Use a back stitch and green floss to stitch around the circle.  The bow is made with red floss and two lazy daisy stitches.  Use two longish straight stitches for the ribbon ends.


Roof Line:


Use green floss and a back stitch to outline the cabin's roof.  Then stitch angled single stitches randomly along the back stitched line to look like garland.  Finish up by stitching french knots every so often using red floss.


Pine Tree:


Decorate the tree using gold floss and a running stitch to look like garland.  Then use red and blue floss and french knots to stitch ornaments on your tree.  You could also use seed beads in place of the french knots if you like.


Quilting:


Layer backing, batting, and embellished quilt top together and baste.  I planned to do very little quilting on this project, so I decided to baste my quilt by lightly spraying basting adhesive between each layer.  I then marked a line ¼" inside each of the plain inner border seams and quilted using big stitch quilting.  Big stitch quilting is simply a big (" - ¼") running stitch.  I used green perle cotton on the outside marked line and red perle cotton on the inside marked line.  But remember, if you don't have perle cotton, you can use two-three strands of embroidery floss for this step.  

Here's a close-up of a corner of the quilted border -- I LOVE how the intersection of the green and red quilting resembles plaid.


That's all the quilting I did.  I stopped quilting because I couldn't wait to finish the quilt and because it is so small and light that it doesn't really require more, but quilt on if you like!  You could add texture to the cabin by quilting lines to look like logs or give dimension to the tree by quilting along the garland.  Or you could quilt around the wool leaves and letters and alongside the embroidered vine.  

After you finish quilting, trim your quilt and bind in a dark blue print.  


And that's it!  You've finished your Peace on Earth quilt!  Hooray!!!  The mystery is solved -- and just in time for Christmas!


I've had so much fun rolling out this little project that I'm already planning to do a new holiday mystery quilt next year.  I'd love to hear any suggestions or comments that you might have about how I could improve the experience.

I'd also LOVE to see pictures of your finished Peace on Earth quilts -- you can send them to me at jendalyquilts@gmail.com.  Let me know if you'd like me to post a picture of your quilt on my blog -- show and tell anyone?!


Thank you so much for following along over the past few weeks.  I wish you all the happiest of holidays and a new year filled with joy and, of course, peace! 

Cheers!  Jen

Monday, December 21, 2015

Peace on Earth - A Mystery Quilt - Day 11

It's Day 11 and today we're assembling our quilt tops!  Finally!!

You'll need to gather the components you've already made and cut just a few more patches/strips before we get started:

Dark Blue Print
4 -- 1¼" x 3½" (I cut mine from one fabric, but you can use different fabrics if you like)
4 -- 2" x 12½" (these should be cut from the same fabric if possible)


Here we go!

Peace on Earth Quilt Assembly:

1.  Lay out the three Friendship Stars from Day 1 as follows:


2.  Stitch together -- unit should measure 3½" x 9½".


3.  Lay out the 10 half square triangles and two 2" x 2" squares from Day 2 in rows as follows -- notice the placement of the lighter dark blue prints:


4.  Stitch together -- unit should measure 3½" x 9½".


5.  Lay out pine tree and cabin from Days 3 and 4 as follows:


6.  Stitch together and remove foundation paper from behind blocks -- unit should measure 6½" x 9½" (oops forgot the photo for that one, but you'll see what it looks like below!)

7.  Lay out the units from steps 1-6 as follows:


8.  Stitch together and pause to admire your work!  Quilt center should now measure 9½" x 12½".


9.  Lay out quilt center and four 2" x 12½" dark blue print strips (cut today) as follows:


10.  Stitch strips to left and right sides of quilt center first and then to top and bottom, pressing seams towards the dark blue print strips.  Now your quilt center should measure 12½" x 15½".

11.  Lay out your two Shoo Fly blocks (Day 5), three Double Pinwheel blocks (Day 6), and the four dark blue print 1¼" x 3½" rectangles that you cut today as follows:


12.  Stitch together -- unit should measure 3½" x 18½".


13.  And now, drum roll please..... lay out the quilt center, the unit you made in steps 11-12, the Sawtooth Star blocks from Day 7, and the wool appliqué components that you made on Days 8, 9, and 10 as follows:


14.  Almost there!!!  Stitch together the holly leaf/vine components and Sawtooth Star flying geese units to finish your side borders.  Then stitch together the "peace" wool appliqué component and the remainder of your Sawtooth Stars to make the bottom border.


14. Stitch side borders to quilt center -- quilt should now measure  15½" x 18½".


15.  And finally, stitch top and bottom borders to quilt which should now measure 18½" x 21½".


Ta-da!  You've finished your quilt top -- pretty, isn't it!  But the mystery is not yet fully solved.  Next time, I'll be revealing the finishing touches that really make this little quilt sing.

In the meantime, pat yourself on the back and pour yourself a glass of wine -- although not simultaneously, that might get messy.  Well done!

Saturday, December 19, 2015

Peace on Earth - A Mystery Quilt - Day 10

Day 10 and the last weekend before Christmas -- yikes!!  Lots to do today, so today's post is going to be a short one.  We're doing wool appliqué again and making the final component of our mystery quilts -- so exciting!

In my Day 9 post, I wrote about the two different methods I use for wool appliqué (freezer paper and fusible web) and how I choose my method depending on the project.  This component features appliquéd lettering and because I wanted to be very sure that the letters didn't shift as I stitched them down, I chose to use the fusible web method.  Let's get started:

You'll need:

Dark Blue Print
1 -- 3½" x 10½" rectangle


Brown felted wool


You'll also need brown embroidery floss.


Here's an idea of what you'll be making:


We're appliquéing the word "peace" -- hence the name of the quilt.  Ah, it's all starting to become clear!  

I used a variety of brown wools for my letters, but you can use just one or choose a different color or even use flannel or quilting cottons -- whatever you like.  Click here for the link to the lettering templates.  You'll see that I've provided standard and reversed templates for the "peace" lettering.  If you choose to use the freezer paper method, you'll want to use the standard templates.  For the fusible web method, use the reversed templates.  Refer back to my Day 9 post for detailed instructions about appliquéing using the fusible web method.

Today should be pretty easy -- just prepare your appliqué letters, center them on your 3½" x 10½" rectangle, and stitch them down, preferably with an egg nog at your side and your favorite Christmas movie on in the background. 


Here's a look at my finished "peace".


Only two more days left!  Next time we'll assemble our little quilts and I can't wait for you to see how it all comes together!

Thursday, December 17, 2015

Peace on Earth - A Mystery Quilt - Day 9

Day 9 already!  I can't believe how far we've come!

Today we are going to finish up the components that we started on Day 8 with buttons and wool appliqué.

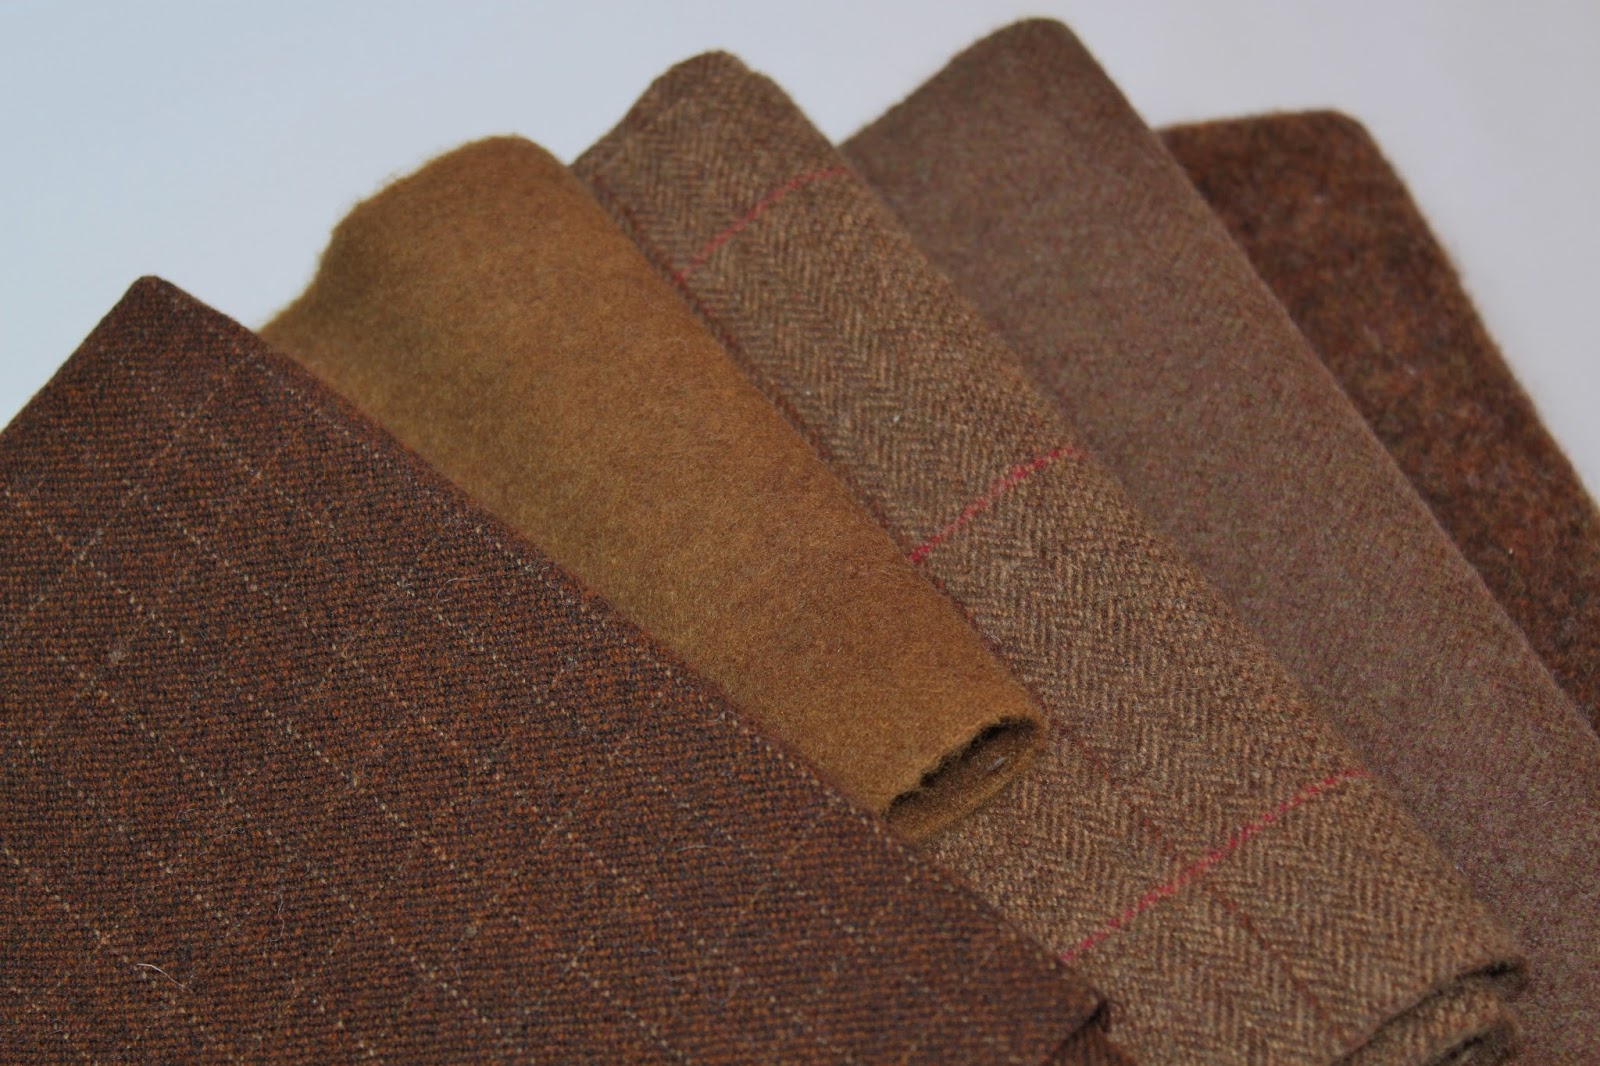
As much as I love embroidery, wool appliqué is my favorite way to embellish a project.  The wool itself is beautiful -- tactile and rich -- and the colors, especially the hand-dyed colors, are just gorgeous.  And appliquéing with wool couldn't be easier.  Once wool is felted, it won't fray like quilting cottons, so there's no need to turn the edge before appliquéing it.  You just cut out your shape, stitch it down, and you're done!

Here's what we're going to do today:


You'll need ten red " -  ⁷⁄₁₆" buttons and ten holly leaves -- click here for the template.

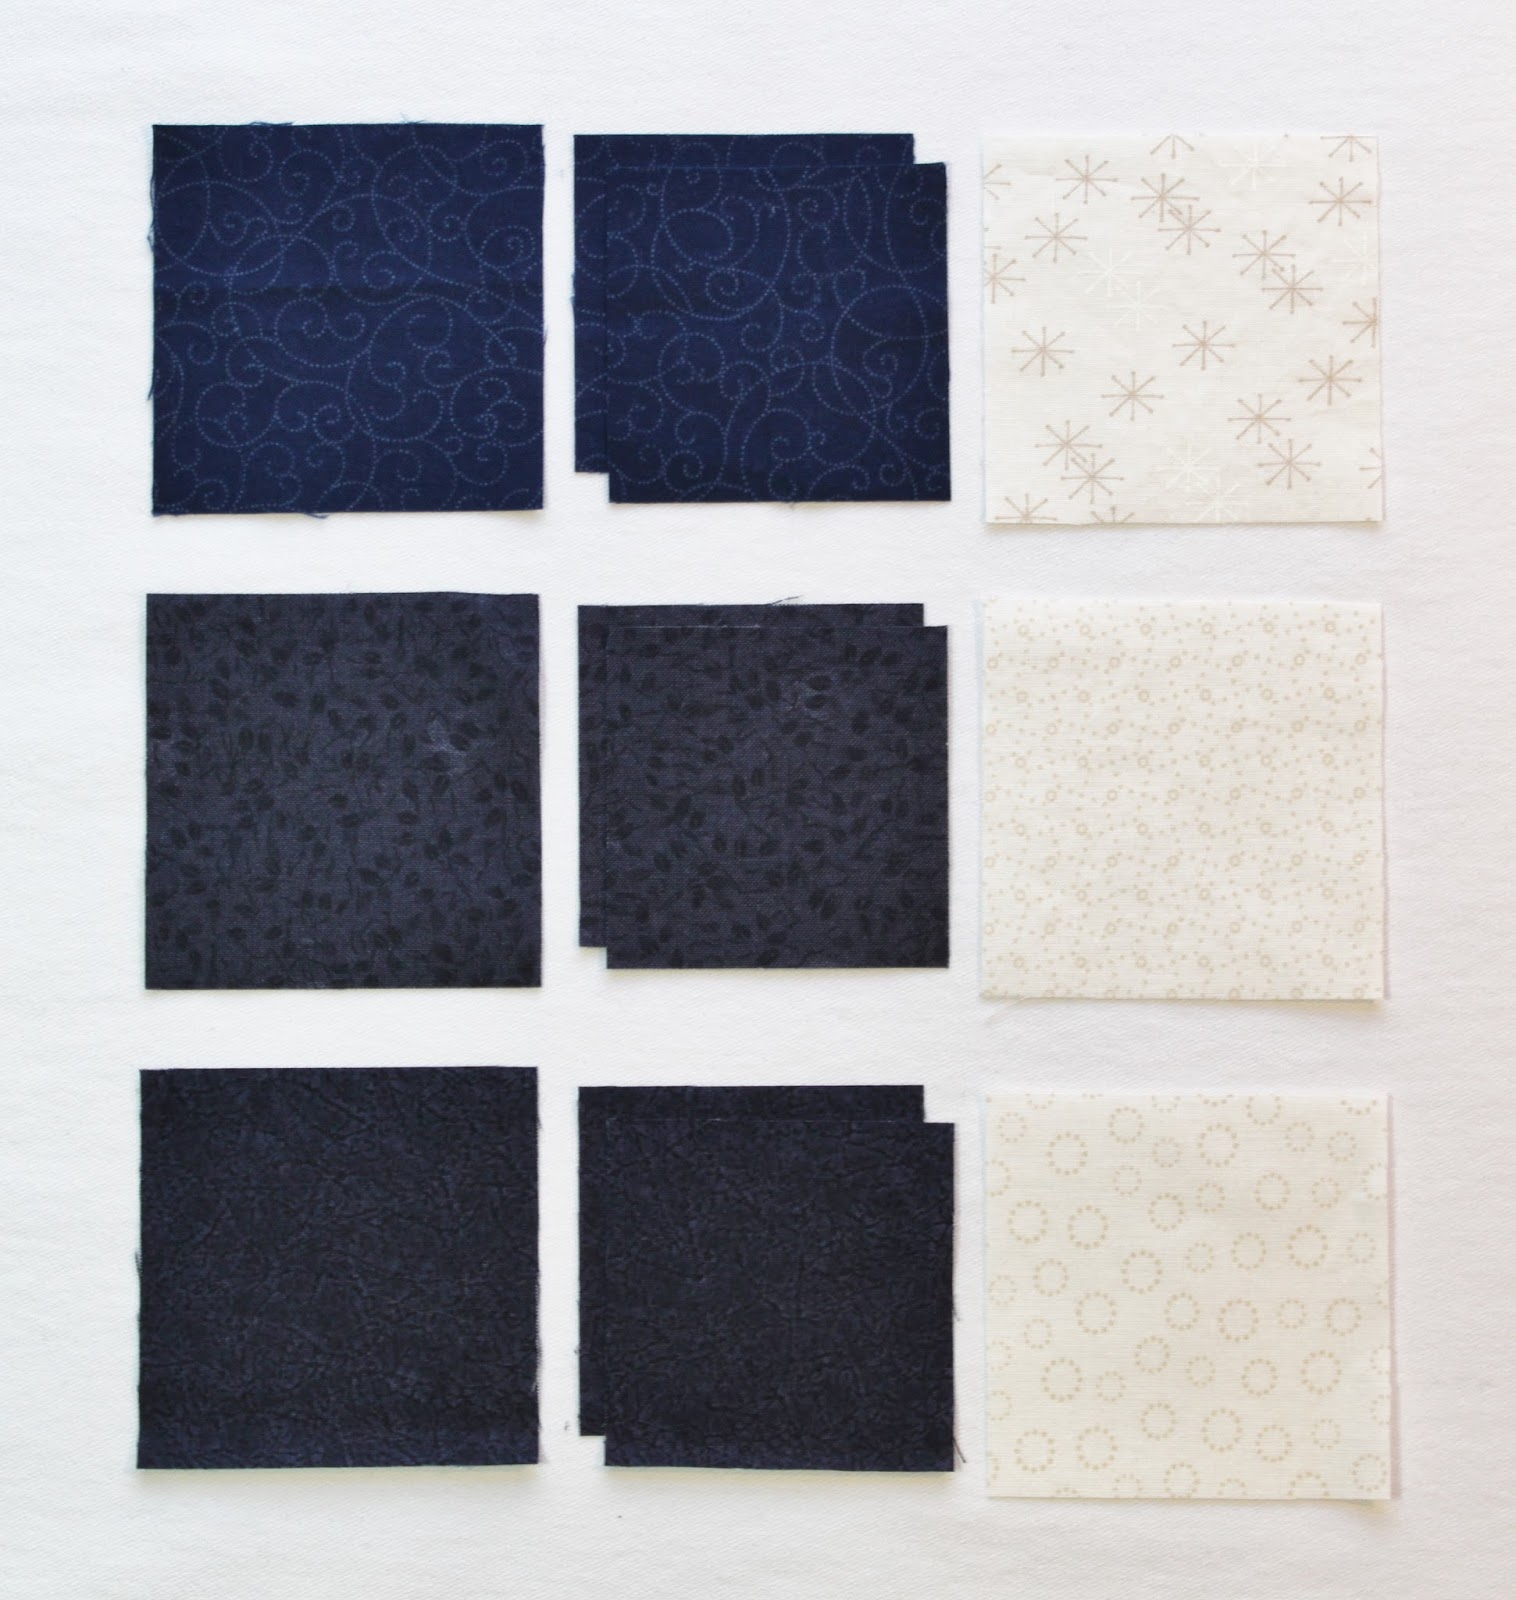
First let's talk about the wool.  I used a variety of green wools for my holly leaves, but you can absolutely use just one.  You can find felted or washed wool in most quilt shops now, but if your wool isn't felted, you'll need to do that first.  I usually felt my wool in the washing machine.  I toss it in with a few pairs of jeans (seems to help work the fibers better), wash it with hot water, and then dry it most of the way in the drier, laying it flat to dry completely.

You can prepare your appliqué shapes in a couple of different ways.  For this project, I used a freezer paper method.  First use your template to trace ten holly leaves on the dull side of your freezer paper.  Using a wool setting on your iron, lightly press the freezer paper to your wool -- doesn't matter which side, there isn't really a wrong side on wool.  Cut your holly leaves out on the line using sharp scissors and remove the freezer paper.  Then simply pin each leaf in place.

To appliqué the holly leaves use a single strand of embroidery floss in a color that matches your wool.  I used a whip stitch to appliqué my holly leaves, but you can use a blanket stitch if you prefer.  Here are some close-up photos to give you an idea of how I stitch my appliqués: 


I'm right handed, so I tend to work from left to right.  I bring my needle up through the wool about 1/16" from the edge...


Then I push my needle back down through the right side of the fabric right at the edge of the wool shape and back up through the wool 1/16" further along, pulling the floss through and continuing around the entire edge of the shape.


Pull your floss through your layers of fabric and wool firmly enough that it holds the shape in place, but not so tightly that it distorts your work.  The stitches will be on an angle on the wrong side of your work, but on the right side, the stitches should be straight and run perpendicular to the leaf's edge.  For the points of the holly leaves, I like to do the stitches to the left and right of the points first, and then do a slightly longer stitch directly over each point.


As I mentioned above, there's another way to prepare your appliqué shapes using lightweight fusible web (and FYI, I use Heat N Bond Lite iron-on adhesive).  Using fusible web can be great because it holds your shapes in place without pins and can help prevent fraying, especially with sharp points or thin pieces of wool.  The downsides are that pressing your shapes in place can make the wool lose some of its texture or dimension and once your shapes are fused, they can't be moved if you change your mind.  I use both the freezer paper and fusible web techniques -- just depends on the project.

To use fusible web, you would just trace your holly leaves onto the paper side of a piece of fusible web and lightly press the fusible web to your wool for a few seconds.  Then cut the holly leaves out on the line and remove the paper backing.  Place your holly leaves on your background fabric as desired and then press in place.  Because the wool is thicker than quilting cotton, it can take a few seconds (10-12 or so) to fuse it in place.  I like to use a piece of muslin as a pressing cloth on top of my wool for this step to prevent the wool fibers from scorching.  After fusing your shapes in place, you can also flip your work over and press from the back for another 10 seconds or so to make sure it's really fused down.  Then appliqué your shapes in place as outlined above.

And by the way, if you don't have wool or don't care for the look of it, you can definitely substitute flannel or quilting cotton and your favorite appliqué method for the holly leaves.  Use what you have and what you like -- this is your project!


Back to today's mystery quilt component!  After you've appliquéd all ten of your holly leaves in place, stitch your buttons down using a thread color of your choice -- I used brown.  Here's another look at the finished product:


And that, my fellow quilters, is it for today!  We've got one more component to make next time and then we're moving on to assembling our quilt tops.  Can't wait!!

Friday, December 11, 2015

Peace on Earth - A Mystery Quilt - Day 6

Welcome back!  Today is Day 6 and we're making Double Pinwheel blocks.  No half square triangles today, I promise!!!

Here's what the Double Pinwheel block looks like:


And here's another EQ sketch of a Double Pinwheel block with a third color thrown in to give you an idea of how it's constructed:


The Double Pinwheel is a great block because you can achieve so many different looks just by moving the colors around.  See how the white in the block above looks like a white square in the background.  


Here's the same block with the blues reversed.  Notice how the white pinwheel seems to advance in this block because there isn't as much contrast between the white and the lighter blue vs. the darker blue.


And check out this coloration!  Moving the white to the outside in the block below really makes it look like a pinwheel.


So much fun!  But I digress.  The block we are working on today will look like this:


It's not quite as splashy with just two colors, but it does resemble a snowflake and that's what we're going for.  Here's how you make a Double Pinwheel Block:

For each of our three 3" x 3" (finished) Double Pinwheel Blocks, you'll need:

Dark Blue Print:
1 -- 2¾" x 2¾" square
2 -- 2" x 2" squares

Ivory Print:
1 -- 2¾" x 2¾" square


Sub-Cutting Instructions: 
1.  Cut all dark blue and ivory print 2¾" x 2¾" squares in half diagonally and in half diagonally again to form four triangles.
2.  Cut dark blue print 2" x 2" squares in half diagonally once to form two triangles.  

The following photo shows what patches you should have for each Double Pinwheel block:


Assemble Double Pinwheel Blocks:
1.  Each Double Pinwheel block will be assembled as a four-patch block.  Lay out one large dark blue print triangle (created in step 2 above), one smaller dark blue print triangle (created in step 1 above), and one ivory print triangle (created in step 2 above) as follows:


2.  Stitch together smaller dark blue print triangle and ivory triangle.  Press seam towards dark blue print.
3.  Stitch together above unit and larger dark blue print triangle to form one corner of each block.  Press seam towards dark blue print.  Trim unit to measure 2" x 2".
4.  Lay out four units created in steps 1-3 above as follows:


5.  Stitch units together in rows.  


6.  Stitch rows together.  Repeat to make three Double Pinwheel blocks that should measure 3½" x 3½" unfinished.


Lovely Double Pinwheel blocks all in a row.  Well done you!

One more day of piecing blocks and then we're moving on to something new -- can't wait!